Create Full Page Screenshots
Generating screenshots of websites was the original use case for screeenly back in 2014.
In this tutorial, we're showing you how simple it is to create a screenshot of a website with the screeenly API.
Create full page screenshots
To create a screenshot of the entire height of the website, set the full_page parameter to true.
(We recommend setting the window_width too, to make sure that the returned screenshots have an appropriate width.)
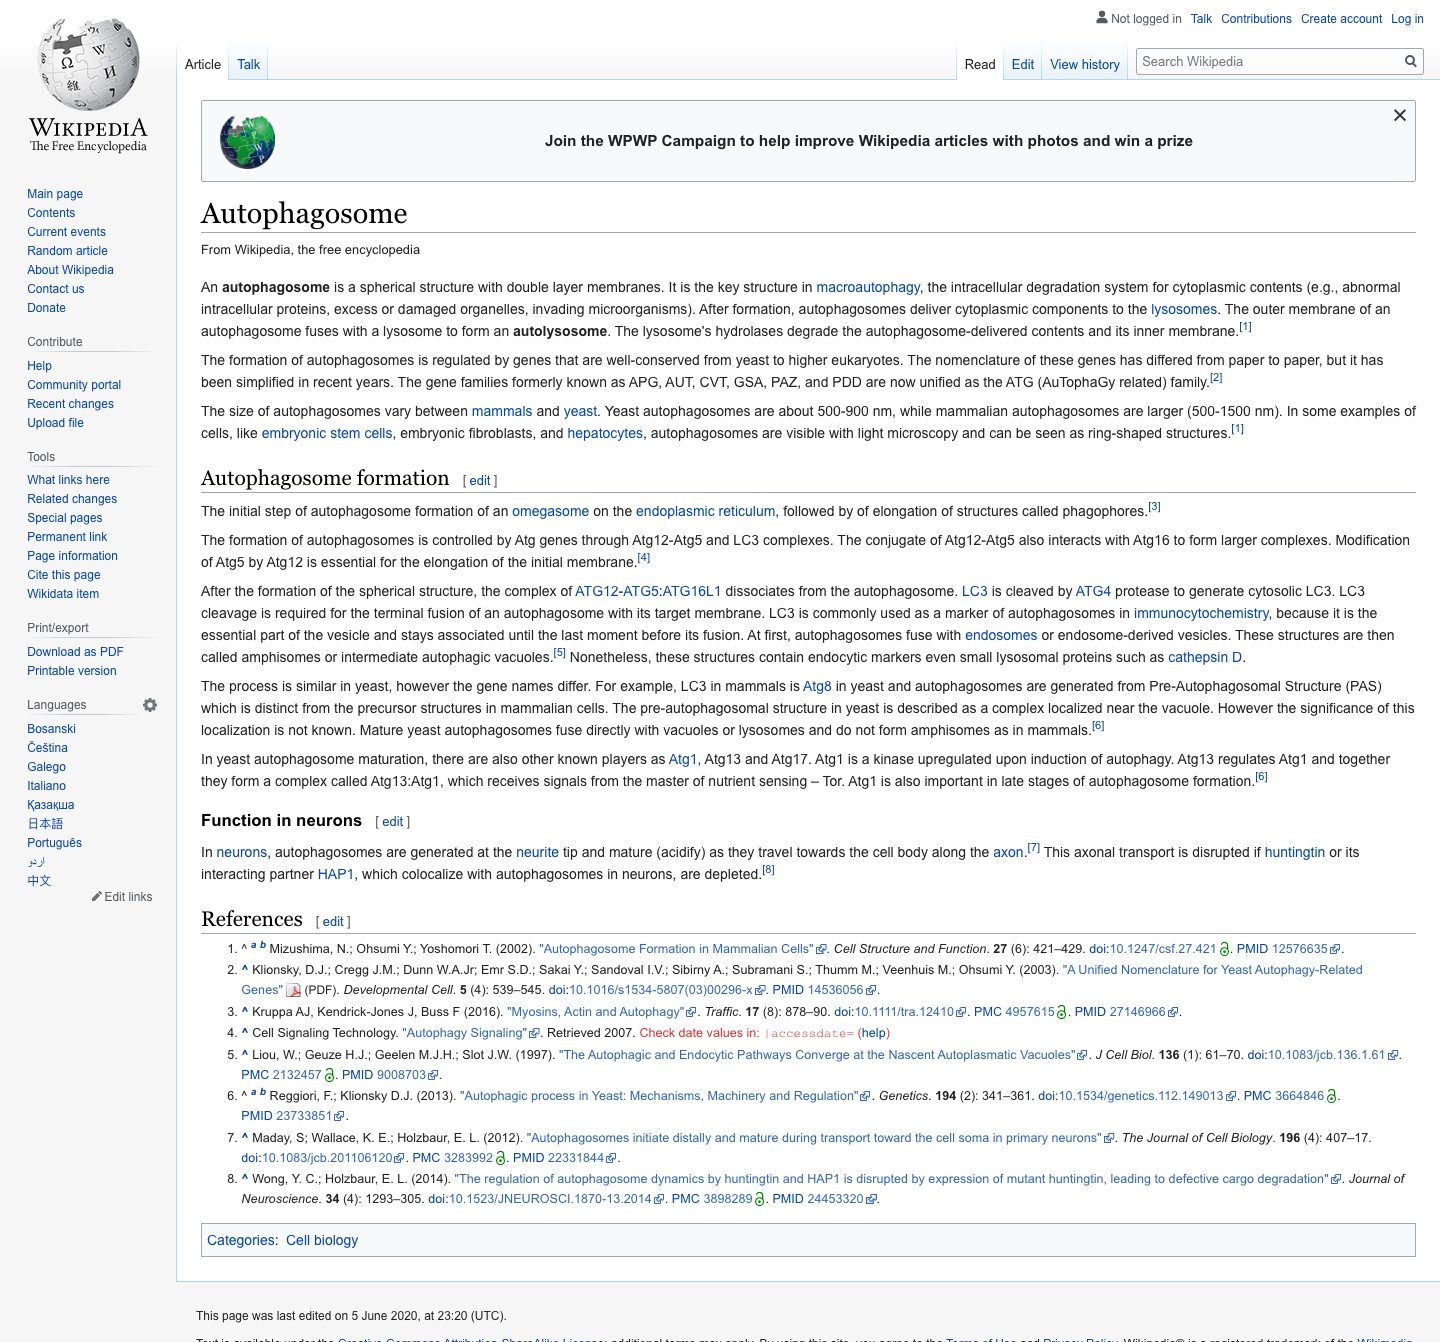
The following is a CURL example to create a full page screenshot of a random Wikipedia page.
curl --request POST \
  --url https://3.screeenly.com/api/v1/shots \
  --header 'accept: application/json' \
  --header 'authorization: Bearer <token>' \
  --header 'content-type: application/x-www-form-urlencoded' \
  --data url=https://en.wikipedia.org/wiki/Special:Random \
  --data window_width=1440 \
  --data full_page=1
Create clipped/cropped screenshots
In this next example, we're cropping the screenshot of a website to a certain area.
We want to create a "clip zone" with a width of 800 pixels and a height of 500 pixels. The clip zone is offset by 100 pixels from the x-axis and y-axis.
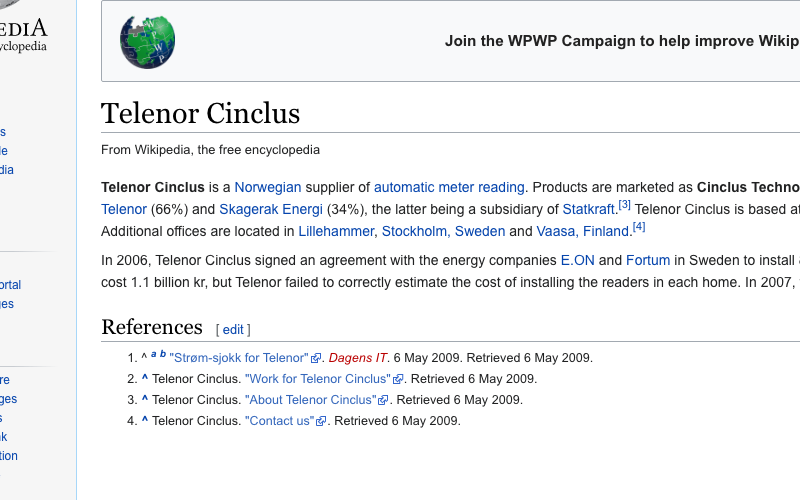
The CURL example below does exactly that by using the clip_x, clip_y, clip_width and clip_height parameters.
Notice that we also set the window_height this time.
curl --request POST \
  --url https://3.screeenly.com/api/v1/shots \
  --header 'accept: application/json' \
  --header 'authorization: Bearer <token>' \
  --header 'content-type: application/x-www-form-urlencoded' \
  --data url=https://en.wikipedia.org/wiki/Special:Random \
  --data window_width=1440 \
  --data window_height=1200 \
  --data clip_x=100 \
  --data clip_y=100 \
  --data clip_width=800 \
  --data clip_height=500